When it comes to social selling, few platforms can match Facebook’s reach. Despite the rise of newer social channels, Facebook still has more active users than other popular networks: With 3.07 billion active monthly users, Facebook surpasses Instagram by 540 million and TikTok by 1.07 billion. That means no matter what business you’re in, chances are you have a substantial number of potential customers to sell to on Facebook.
Many of these potential customers are already shopping on social sites. Social commerce revenues are forecasted to reach $1 trillion by 2028, up from $699 billion in 2024. Facebook is a popular choice: Nearly 25% of global shoppers named it their favorite social commerce platform.
If you are ready to begin selling on Facebook, this step-by-step guide is for you. You’ll get the rundown on how to sell on Facebook Marketplace and Facebook Shops, including tips for listing items and pricing your products.
Ways to sell on Facebook
Facebook offers several sales channels to help merchants and users sell online. We’ll cover each in detail below, but first, here’s a quick overview of the different ways to make money on Facebook:
Facebook Shops
If you’re a small business owner looking to build an audience, grow your brand, and boost sales simultaneously, the best place to start is Facebook Shops.
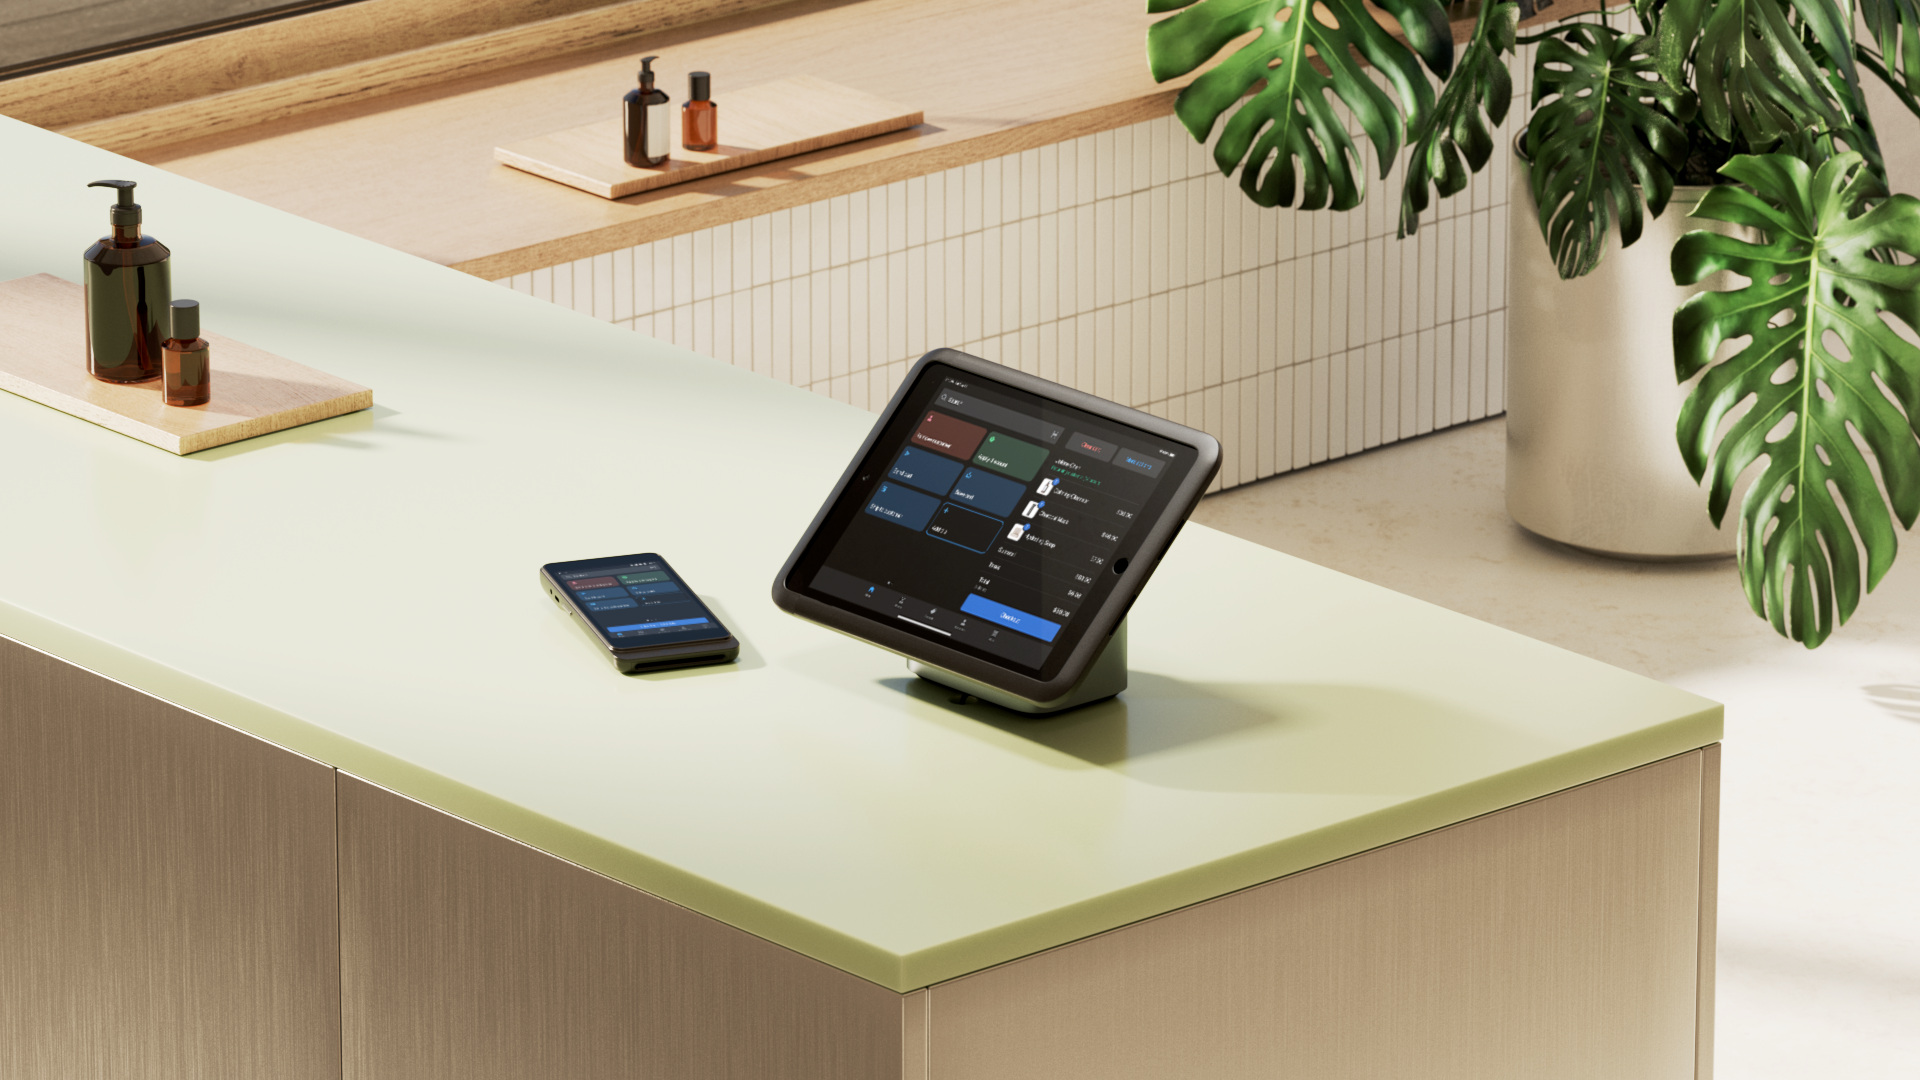
With Facebook Shops, merchants can set up an online store directly on their Facebook business page. Customers can browse your products, then click through to your ecommerce site to check out.
When you create a Facebook Shop, you can connect it with your Shopify storefront using the Facebook & Instagram app. This allows you to sync your inventory and sales data for streamlined selling.
Facebook Marketplace
Facebook Marketplace launched in 2016 as a consumer-to-consumer (C2C) sales tool, similar to Craigslist. Users could post classified ads and arrange in-person product exchanges or direct payments.
Many people still use Facebook Marketplace this way, but recently, Facebook has added features to this tool to accommodate small businesses—such as on-site checkout and shipping options.
Facebook buy and sell groups
Many C2C transactions on Facebook are made through buy and sell groups—Facebook groups that are often location-specific or centered around a particular interest. Any Facebook group can enable the buy and sell feature, allowing users to list products for sale.
Buy and sell groups are best for individuals looking for garage-sale-style shopping experiences. Groups aren’t the primary way for merchants to sell on Facebook, but retailers can use them to build their brands, especially locally.
How to sell on Facebook Shops
- Create a Facebook business page
- Add the Facebook and Instagram app to your Shopify store
- Connect your account
- Determine data sharing and enter business details
- Accept terms and conditions and undergo review
Follow these five steps to get your Facebook Shop up and running in no time:
1. Create a Facebook business page
When setting up your Facebook Shop, you’ll first need a Facebook business page for your company. You do not need to create an entirely separate Facebook account: You can manage your business page from your personal Facebook profile. The two accounts won’t be publicly linked, so audiences won’t see the connection unless you choose to post about your store on your personal page.
You can create your business page from your personal profile: Navigate to the Pages section on the left side of your homepage, then click Create new page. Alternatively, you can set up a new business page through Facebook’s Create a Page link.

2. Add the Facebook and Instagram app to your Shopify store
If you use Shopify, the easiest way to start selling on Facebook Shops is to set up your Shop through Shopify. Navigate to the Shopify App Store and add the Facebook & Instagram app to your Shopify store.
If you don’t use Shopify or another popular ecommerce platform, you can still create a Facebook Shop—you’ll just need to manually upload your product catalogue.

3. Connect your account

Shopify makes it easy to set up a Facebook Shop by walking you through every step. Review Shopify’s tips for setting up your account, then select Next.
Now, connect your personal Facebook account. If you don’t have a business page yet, you can create one during this step.
4. Determine data sharing and enter business details

Decide how much data you want Facebook to collect about your customers. This decision is particularly important if you plan to run Facebook ads, which can target customers based on the data you share. Here, you’ll also add the Meta pixel to your shop, allowing you to track customer behavior on your site and develop retargeting ads.
In the next step, you’ll add your email address and return window.

5. Accept terms and conditions and undergo review
Review your shop details, read and agree to the terms and conditions, then submit your shop for review. To be able to use Facebook Shop and Facebook Marketplace integrations, you must adhere to Facebook’s commerce policies and the terms outlined in the Facebook Seller Agreement.
Once your shop has been approved, here’s what to tackle next:
-
Manage your catalog. Shopify automatically adds products to your Facebook store, but you can add or remove specific products by going to Products > Availability > Unavailable on Facebook. To make products available, click More actions > Add available channel(s) > Facebook > Make products available.
-
Create a collection. Organize your products into collections to make it easier for customers to browse your shop. Collections can be based on product categories, seasonality, or any other theme that makes sense for your business.
-
Customize the look of your shop. Change button colors, arrange featured collections and promotions, and choose collections to highlight at the top of your shop.
-
Promote your shop. Use Facebook marketing tactics like posting Reels about your store, collaborating with influencers, and running paid Facebook ads to attract shoppers to your Facebook Shop.
How to promote your Shop with Meta ads
- Set up Facebook Business Manager
- Configure data sharing
- Install Meta pixel
- Create a campaign and set ad goals
- Set your budget and schedule
- Choose your audience
- Create your ads and publish
If you want more users to see your Facebook Shop products, you can promote them with paid Meta ads. You’ll do this through Facebook Ads Manager.
To get started, navigate to your active Facebook account:
1. Set up Facebook Business Manager
The first step to running Facebook ads is setting up Facebook Business Manager. You can set up a new ad account through Facebook’s Business portfolio—which you’ll have set up while creating your Facebook Shop.
2. Configure data sharing
Meta offers three levels of data sharing: standard, enhanced, and maximum. This lets you control how much customer data Meta collects, and you’ll need to select a preference before you install the ad targeting tool Meta pixel. You’ll have completed this step already if you created your Facebook Shop through Shopify.
3. Install Meta pixel
Facebook’s Meta pixel tool tracks user behavior on your site so that you can target ads to customers on Facebook and Instagram. The tool integrates with Shopify, and if you set up your Facebook Shop with Shopify, you’ll have installed it already. If you didn’t, here’s how to install Meta pixel through Meta’s interface:
-
Navigate to Meta Business Suite > Events Manager > Connect a new data source.
-
Select Web as your data source.
-
Name your Meta pixel.
-
Enter your website URL.
-
Choose between Pixel only and Conversions API and Meta pixel. Meta recommends the latter for improved Facebook ad targeting.
-
Select Set up with partner integration, then choose Shopify as your partner integration.
4. Create a campaign and set ad goals
From Facebook Ads Manager, click the Create button to launch a new campaign. You’ll select your buying type (auction or reservation), then set your ad goals. You’ll have the following options:
-
Awareness
-
Traffic
-
Engagement
-
Leads
-
App promotion
-
Sales
5. Set your budget and schedule
You’ll have several options for setting your ad budget, like choosing your average daily ad budget and setting spending limits. You’ll also set your ad schedule by selecting your start and end times.
6. Choose your audience
You can show your ads to a Meta-recommended audience by using the Advantage+ audience option. Meta will display your ads to the people it determines are most likely to respond. You can also create your own audience based on criteria like age, location, and interest.
7. Create your ads and publish
Upload your creative assets and select the format of your ad: single image or video, carousel, or collection. You’ll have additional options, like choosing whether to translate your ads into other languages and deciding if you want to run a partnership ad with a creator or other brand.
Once you’ve uploaded your creative assets and fine-tuned your ad’s details, click Publish. As you monitor your ad’s performance in Facebook Ads Manager, consider experimenting with different Meta Ads strategies to optimize your campaigns in the future. You can also use the Meta Ads Library for inspiration.
How to sell on Facebook Marketplace
Selling on Facebook Marketplace is easier than setting up a Shop, but it’s a less professional platform (your listings will be next to listings from individual sellers), and you’ll have less control over their visual branding.
Here are the steps to start selling on Facebook Marketplace:
1. Create your Marketplace listing
Log in to Facebook. Go to the Marketplace button on the left side menu, then Create New Listing.
2. Select the item for sale
Choose which product you want to list.
3. Fill in all listing information
Add a high-quality product photo and an engaging product description, plus the product’s price, condition, and any additional details (like SKU numbers and product tags). Once you’ve added all your product info, select Next.
4. Preview your new listing and join groups
On the following page, you’ll be shown a preview of your product listing, with a list of local groups you can join. Joining these groups is not mandatory, but doing so will allow you to post Marketplace listings to local buyers in the groups you join. That will help expand your reach, which can make an impact on sales.
5. Publish your listing
Once you’re satisfied with your listing, select Publish to start selling on Facebook Marketplace.
How to promote your Facebook Marketplace product with boosted listings
If you want more users to see your products on Facebook Marketplace, you can promote them by boosting your listings. Boosted listings appear in Facebook Feeds, Facebook search results, and on Marketplace.
To get started, navigate to your active Facebook account:
1. Find your product listing
From Facebook, select “Marketplace” from the left side menu, then “Your account.”
On your account page, under “Your listings,” select “Boost listing” for the listing you want to promote.
2. Set campaign details
On the next page, you’ll set a budget and ad campaign duration. You’ll also select a geographical location for your target audience.
Next, confirm your payment method and preview your boosted listing.
3. Launch ad campaign
Edit any attributes as needed. When you’re happy with the campaign details, select Promote now.
How to sell through Facebook buy and sell groups
Any admin of a Facebook group can enable buy and sell features. However, most groups with selling features enabled are local networks, with members living in a specific city, town, or neighborhood. Sales through these groups are usually arranged privately between buyers and sellers.
Although buy and sell groups are mostly used by casual sellers, they offer an opportunity for small businesses looking to build a local audience. You can’t integrate a checkout into a Facebook group page, but businesses can direct interested buyers to their Facebook Shop or website to make a purchase.
1. Join a buy and sell group
Choose groups most aligned with the target audience for your product. To find local groups with selling features enabled, go to Facebook > Groups, and search “buy and sell.”
You’ll see a list of buy and sell groups in your local area. Some are private, and you’ll need to be approved after clicking “Join.” Some are public, and you can join immediately.
2. Draft your product listing
Once you’re in a group, go to Sell something at the top of the group page. Select Item for Sale from the options given. On the next page, you’ll enter your product information, including an image, description, and the location you want to sell in. Enter the required details, then Next.
3. Publish your product listing
After entering your product details, you’ll have the option to “Add Your Listing to Marketplace.” If you select this option, your listing will appear in the feeds of users Facebook believes are most interested in your products. You’ll also have the option to join other buy and sell groups and list items there. Once you’ve selected the groups you want to post in, select “Post.”
How to create effective product listings for Facebook
- Write compelling product titles
- Craft detailed and informative descriptions
- Use high-quality photos for your listings
- Set competitive prices
Selling on Facebook lets you reach a huge number of potential customers—both local and global. The key to success is approaching it professionally—and successful ecommerce businesses know the importance of informative and transparent product listings.
If you’re selling on Facebook Shops, you can import your product catalog from Shopify, meaning you won’t need to rewrite product titles and descriptions. However, if you’re setting up a shop from scratch or creating listings for Facebook Marketplace or buy and sell groups, you’ll need to start from scratch.
Here are best practices for writing compelling product listings for Facebook
1. Write compelling product titles
Your product title is the first thing a potential buyer sees. Writing a concise yet descriptive title can help readers quickly understand what you’re selling.
Avoid vague names and clearly communicate what your product is and why it’s unique. Include descriptive keywords that customers might search for, but keep it clean and easy to read. For best results, keep your title under 10 words so it displays in full as people scroll through Facebook Marketplace listings.

For example, instead of the generic product title “Handmade Candle,” you might use a more descriptive title, “Hand-Poured Soy Candle with Lavender & Chamomile – 100% Natural.” The added adjectives spark interest while remaining easy to read.
You can follow this formula to create effective product names:
Condition + Color/Material + Item Type
Avoid all caps (Meta doesn’t support this) and excessive punctuation like exclamation points that make your listing look like spam.
2. Craft detailed and informative descriptions
Once you’ve hooked Facebook users with your title, hold their interest with a killer product description.
Highlight the features, benefits, and details that set your product apart. Don’t just say, “This candle smells good.” Instead, paint a picture: “Fill your home with the calming scent of lavender and chamomile, hand-poured with 100% natural soy wax for a cleaner, longer-lasting burn.”
Break up the text with bullet points for key details like size, materials, and care instructions.
To save time, consider using AI to write product descriptions. A tool like Shopify Magic, for example, can help you quickly draft compelling descriptions.
3. Use high-quality photos for your listings
Visuals are everything on social platforms like Facebook, so make sure your products stand out through high-quality product photography.
Use bright, natural lighting, and capture multiple angles. Show close-ups to highlight texture or important details and lifestyle shots for context. Include something to indicate your product’s scale if the size might be unclear.

Wherever possible, it’s also helpful to shoot video of three-dimensional products. You might create a short video showing the product in use if you think it will help potential buyers get a clearer sense of its use cases and benefits. On Facebook Marketplace, you can include one 60-second video per listing.

Free Guide: DIY Product Photography
Learn how to take beautiful product photos on a budget with our free, comprehensive video guide.
4. Set competitive prices
Check out similar products on Facebook and other platforms to see where your product fits into the competitive landscape.
Aim for a price that reflects the value of your product while staying competitive. If you’re charging slightly more than others, emphasize what makes your item worth it (like unique craftsmanship or eco-friendly materials). If you’re pricing low, make sure customers still perceive the quality—sometimes, a too-good-to-be-true price can turn shoppers away.
If you’re pricing new products, consider using a straightforward cost-plus pricing strategy to ensure you earn a profit on each product:
Cost to make the product (materials, labor, overhead, etc.) + Markup = Price
If you’re selling used products, you’ll need to consider their condition. If they’re in good condition, consider pricing them at around 50% of their retail value.
If you’re selling vintage or antique items, assess their market value before listing them. One way to do this is by researching the prices of similar products on sites like Etsy and eBay. eBay lets you see both current listing prices and how much items have sold for in the past, which can be helpful if there are no similar products currently for sale.
While these general rules serve as a baseline for pricing your products, consider exploring more detailed pricing strategies to make your products more competitive.
Understanding pricing strategies for your products
- Competitive pricing
- Cost-plus pricing
- Value-based pricing
- Bundle pricing
- Psychological pricing
- Anchor pricing
Your pricing doesn’t just determine how much money you’ll make per sale—it also affects how customers perceive your brand and your products’ value.
Before settling on a price, consider the landscape: Facebook is a competitive platform with a mix of small businesses, personal sellers, and larger brands, all vying for attention. That means your price needs to be competitive enough to attract buyers while clearly communicating the unique value your product brings.
Research similar listings to get a sense of what comparable items are selling for. Look at listings in your niche and the broader industry, both on Facebook and other marketplaces. While you research, pay attention to factors like materials, craftsmanship, and shipping options.
Are there patterns in pricing that could guide your strategy? If your product offers something unique, like handcrafted details or eco-friendly materials, you might decide to position it at a premium.
If you’re targeting budget-conscious buyers, your strategy might focus on offering the best possible value.
Just remember, pricing low can attract attention, but it can also create a perception of lower quality, so balance value with quality cues in your listing.
Here are common strategies for pricing your products on Facebook Marketplace and beyond:
Competitive pricing
With a competitive pricing model, you price products similarly to comparable products on Facebook and other marketplaces. Look at current listings and research competitors to find a price that fits market expectations without undervaluing your product.
Cost-plus pricing
Calculate your costs (materials, production, shipping) and add a markup to ensure profit. Cost-plus pricing is particularly useful for handmade or custom products, where material and labor costs significantly impact pricing.
Value-based pricing
If your product offers unique value—like sustainable materials, exclusive designs, or customization options—consider value-based pricing. This strategy focuses on what your ideal customer is willing to pay based on the product’s benefits, not just its cost.
Bundle pricing
Offer multiple products as a bundle at a slightly discounted rate. For example, selling three skin care items together as a set is more enticing than selling them separately.
Psychological pricing
Bundle pricing is actually one of several approaches under the umbrella of psychological pricing. Another subset is odd-even pricing: Using prices ending in .99 (e.g., $19.99 instead of $20) can make prices appear lower than they are, even though the actual difference is minimal.
Anchor pricing
Show the original price alongside a sale price to give customers a reference point and highlight savings. For example, showing “$30 now $20” in a product listing illustrates price anchoring that can create a sense of value for potential customers.
Facebook Marketplace policies and other compliance
Facebook Marketplace has clear rules about what can and can’t be sold, how listings should be managed, and how sellers should interact with buyers on the platform.
To avoid getting your listings removed by Facebook, stick to their guidelines:
Comply with seller restrictions
-
Your Facebook Marketplace listings must be products for sale—not services or “in search of” posts.
-
Don’t use Facebook Marketplace to conduct activities that could be considered fraud or deceptive.
-
Make sure your products are allowed on Facebook Marketplace—don’t list items that are illegal or prohibited by Facebook Marketplace’s terms of service. Prohibited items include weapons, animals, alcohol, and adult products.
-
Don’t include offensive or inappropriate language or imagery in your product listings.
Accurately represent your products
-
Don’t use deceptive or misleading language in your listings—make sure everything is accurate and honest.
-
Don’t post images of items that are not actually being sold.
-
Don’t post items that are counterfeit or stolen.
Protect your privacy
-
Don’t post personal information in your product listings. This includes private info like your address, phone number, or email address.
For a more comprehensive view of these policies, it’s worth familiarizing yourself with Facebook’s Community Standards and Commerce Policies. These cover everything from respectful communication with customers to content guidelines for product photos and descriptions.
🎯Using paid ads to promote your listings? Be aware of Facebook’s advertising policies to avoid rejected ads or account suspensions.
Read more
- How This Data Scientist Used Market Research to Launch A Successful Fertility Business
- The Ultimate Guide To Dropshipping (2024)
- How To Source Products To Sell Online
- The 13 Best Dropshipping Suppliers in 2024
- Why Site Speed Is So Important- Conversions, Loyalty, and Google Search Ranking
- The Ultimate Guide to International Ecommerce
- 36 Trendy and Creative Instagram Story Ideas to Try
- How to Start a Dropshipping Business- A Complete Playbook for 2024
- How to Use TikTok For Business
- How to Create an Instagram Business Account
How to sell on Facebook Marketplace FAQ
What payment methods can I use when selling on Facebook?
You can use credit cards (Visa, Mastercard, American Express, and Discover), debit cards, or PayPal as payment methods when selling on Facebook Marketplace with Facebook’s checkout. For local transactions on Facebook Marketplace or in buy and sell groups, many sellers use cash or payment apps like Venmo or PayPal for in-person transactions. If you’re selling through Facebook Shops, customers will be directed to your ecommerce store, where they’ll pay using your site’s configured payment methods.
Is selling products on Facebook free?
Selling products on Facebook can be free, whether you sell through Marketplace, on a Facebook Shop, or in buy and sell groups. You will pay a 10% transaction fee for Marketplace listings using Facebook Checkout, but you won’t pay fees to Meta for sales with local pickup and payment, or for sales on a Facebook Shop set up with Shopify. You will need to pay to promote your Marketplace listings or run ads for your shop.
How much does it cost to sell on Facebook?
There is no cost to list items for sale on Facebook. The amount you’ll pay after products sell, however, varies by the type of listing you create. If you sell on a Facebook Shop set up with Shopify, you won’t pay additional transaction fees. If you sell on Facebook Marketplace or in buy and sell groups and coordinate local pickup and payment, you won’t pay fees. If you sell on Marketplace and use Facebook’s in-app checkout, you’ll pay a 10% fee to Meta.
How do you get paid for selling items on Facebook?
How you get paid for selling items on Facebook depends on where you’re selling. If you’re selling on Facebook Marketplace or posting your Marketplace listing in a buy and sell group, you can be paid through Facebook Checkout or by coordinating payment with the buyer. If you’re selling through a Facebook Shop, you’ll be paid through your ecommerce site’s payment gateway, since customers will check out on your site.2
What are the requirements to sell on Facebook?
The requirements to sell on Facebook include having an active Facebook account, being at least 18 years old, and adhering to Facebook’s Commerce Policies. Additional requirements may apply if you’re setting up a Facebook Shop for your business, such as demonstrating trustworthiness through an established presence and, in some cases, verifying your identity.